August 2008

Mini Journal making: A DIY project for all levels of crafter

Mini-journals
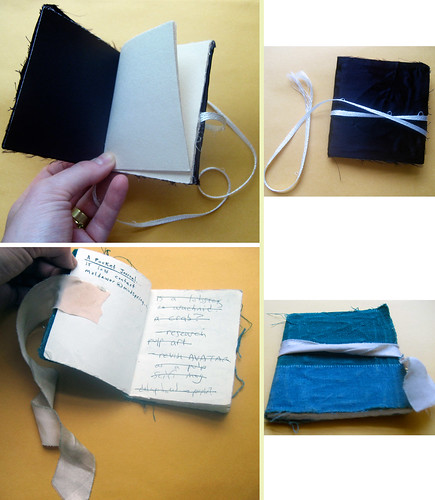
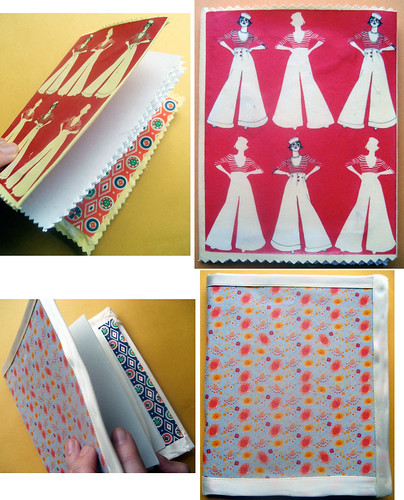
Above are a some pocket journals I made for my husband a couple of years ago using fabric. More details at the bottom of the post.

Mini-journals

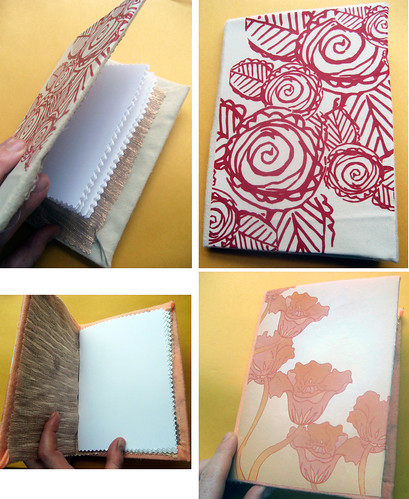
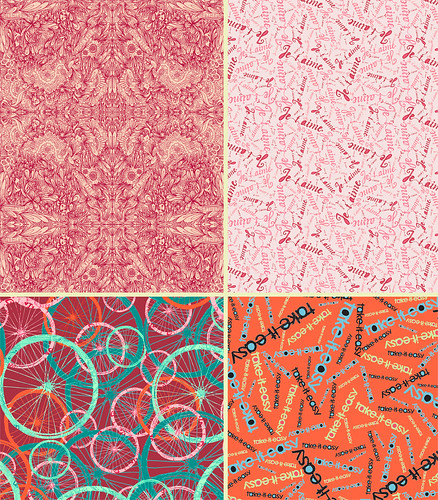
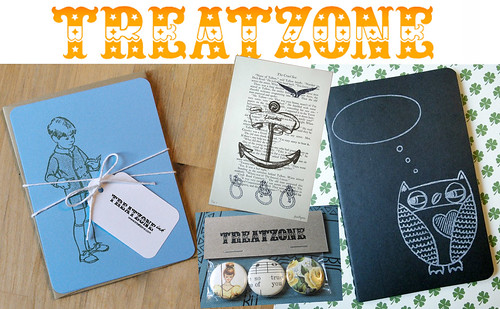
While preparing for the Surtex show last May, I started looked for ways to display my surface pattern designs. So I made a bunch of journals. I used heavy weight paper for some of the covers and for some I used fabric . I printed the paper ones with an ink jet printer, and used iron on t-shirt transfers to adhere my prints to the fabric ones (like the ones you see above and this one). Regardless of your crafting abilities, this project is a great way to make a gift, use recycled materials, show off your own designs, or designs you like.

I’m going to tell you how to make mini journals according to your ability, or ehemm…comfort with a stapler versus burning hot glue!

Mini-journals

Ribbon is a great binding tool and decorative embellishment. I love using origami paper for the inside covers too.

mini journal making

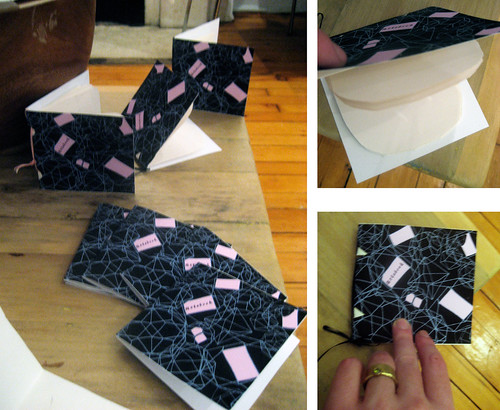
You can even make one without glue, needle and thread, or staples. For the ones above all I used was a hole punch and ribbon to bind.

Ok so, here’s how to do it yourself!!:
Advanced: (hot glue, cardboard or heavy card-stock, fabric, ribbon (optional), paper, scissors

  1. Start by cutting your card stock/board into one long sheet and then fold in half for front and back cover (like a card)
  2. Cut fabric, about 1/2 inch larger than card stock/board
  3. Hot glue around edges of cardboard/stock and center fabric on top, fold to make sure you did not do it too tightly.
  4. Once dry, cut diagonal slices on edges of the fabric that stick out so that you can fold them in, on the inside of the book.
  5. Once you’ve done the cutting and have practiced folding the edges in, hot glue a thin line around the whole card stock, and proceed folding the fabric inward. You may need to add little drops of glue where the fabric is overlapping. (here’s where you add ribbon around the edges if you want).
  6. Add origami paper, or another piece of fabric over the card stock to cover inside. I always try to cover the little fabric folding imperfections with the inside fabric/paper.
  7. Cut paper for inside of journal(I recommend using recycled printer paper, vellum, watercolor paper etc.), Then fold in half (like a card).
  8. Hot glue a line down the center of card stock/board and place the edge of your folded paper pile on top, hold till try…..and voila, fabric journal.

Mini-journal making for those (I’ll call us Intermediate) who like sewing or hole punching and tying

For this you’ll need: Heavy printer paper (I love photo supreme matte) to print your design on, or photo, or someone else’s design (get permission unless it’s copyright free), a hole-punch, thread and needle or ribbon.

  1. Fold your heavy paper with design on it in half like a card.
  2. Hole punch two or three holes on the fold if you are using ribbon.
  3. If you are sewing, cut and fold your inside papers and sew through them and the heavy paper (this is hard to do, you may need to sew little bits at a time. I prefer the hole punching and ribbon tying method but to each their own.
  4. For hole punching, add your hole punched papers (it does not matter if they’re exactly lined up with outside holes but try to get it close).
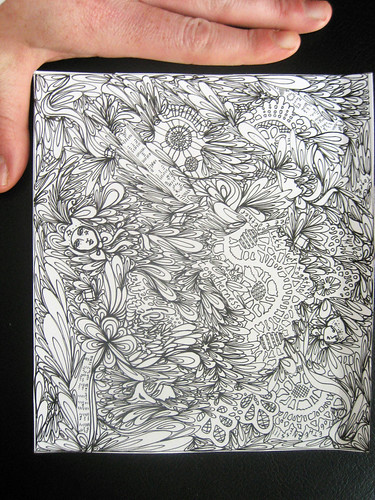
  5. Then weave ribbon through from the inside out. So the ribbon should look like a staple on the inside at the center. Then I like to take one tip of ribbon on the outside and bring it back around the inside and reconnect it with the other tip at the bottom on the outside so that a bow is visible (see the picture above). I feel there are no tying rules. It’s fun to experiment and come up with a way you like. I always change it up. That’s the fun of a handmade object. There’s no such thing as a “right way” to make it.

The Easy breezy way: Printed design on heavy paper, inside sheets, and stapler

  1. Just prepare your design paper (heavy weight) and inside pages.
  2. Line them up and staple them, and voila a journal.
  3. To spiffy it up, add a “lock” by taking a thin strip of paper and stapling it to the center edge of the cover horizontally. Then wrap it around the back and add another little u shaped loop to slide it into (vertical). Make sure the horizontal strip is longer but not wider than the vertical strip.

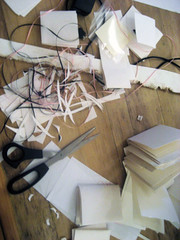
I’m a bit of a messy worker, see:
mini journal making mess...

YAY….this project just got featured on Craft!

New surface patterns that incorporate hand lettering + Oatmeal and Cinnamon blog

new patterns that incorporate hand lettering

I have not posted new surface patterns in a while. I did post my new hand-lettering section on my website. So today I’ll show you a few new patterns, some that incorporate hand-lettering.

Also, here’s a fantastic site that features hand-lettering. I discovered them through a post they did about my work. Yay! Here’s Oatmeal and Cinnamon. Check them out.

Here’s the original drawing on the first one (pre-repeat):

pattern element

Tomorrow I’m going to post a mini-journal making how-to for you to do over the weekend or next time you want to make a little gift for a friend…or yourself.

XO.

I don’t have a summer house

I don't have a summer house

I’m lamenting summer’s passing. I have to go back to work, get up at 5am. I’m dreading the dark morning. I’ll get used to it.

Really, I’ve had a splendid summer. I’ve done a ton of artwork, traveled to the Berkshires & California, & had marvelous bike rides in the park/cloud watching sessions/romantic dinners at home with my husband.

Here’s a fun article on NOT owning a summer house from Slate

Here’s a search on flickr for “summer house”. I picked some of my favorite pictures to show you.

  1. Rhys Jones photography photostream
  2. Bildgrotten’s photostream
  3. Lawrence’s Travels photostream
  4. Walls and a frown’s photostream

Treatzone!: Sandy + Matthew’s favorite things

treatzone

While in San Francisco I had the pleasure of meeting Sandy co-creator of Treatzone.

“Treatzone exists to showcase a small sampling of the many gems in life, some of which are obvious, some of which you may have overlooked, and the best of which we still have yet to find. Always knowing that the joy of life’s discoveries are in direct relation to the complexity of the search.”

-Sandy + Matthew

TREATZONE ALSO HAS A SHOP!  That carries: prints, stationery, and more. Treatzone creators are inspired by vintage materials and imagery, and endeavor to use re-purposed or recycled materials as much as possible (I love that they do that).

I’m so happy to have met Sandy and look forward to meeting Matthew someday. In the meantime I have lots of shopping to do in their etsy shop and reading to do on their blog. You do too.

Start by trying the Davis-Glazier Dizictionary they have on their site! You can inpuzzet some writing like “Samantha loves blogging on Maquette. She enjoyed her trip to San Francisco and meeting Sandy.” And the outpizzet is, “Samantha lovizzes blogg’n on Maquette, yeah! tha damzle’s enjizzoyed tha damzle’s trizzip San Francisco ‘n meetizz’n Sandy.”

They must have hired Snoop to translate! Try it.

I’m a busy bee: Illustration work for Glamour + Craft + California trip preview

Sept magazines: Glamour and Craft

Magazine pages

I’ve been back from California for a week but have not had time to properly talk about the trip or the art stuff I’ve been up to. I’m excited to say that I have work in two fabulous magazines this month, Craft and Glamour. I know I posted about Glamour when it first came out but now I have pictures of the actual magazine pages. Though I suggest getting your own copy. Craft has lots of great projects I’m dying to do and Glamour is chock full of fall fashion and inspiration. Plus, it has Penelope Cruz on the cover. I think she’s incredible. I highly recommend Woody Allen’s new film: Vicky Christina Barcelona with Penelope as a crazed lover.

Here are some close-ups, the Craft illo was done in micron pen and concentrated inks:
CRAFT-illo

The Glamour illos were done in pen with digital color:
Glamour Magazine September

This week, I’ll post about some wonderful Cali things. Here’s a sneak preview: I met Erin of Design for Mankind, Mary Jo Matsumoto of Trust Your Style, Sabrina of Hello Lucky, Natalie (of Coquette) and Daniel at Craft, some fabulous folks at Chronicle, Kelly of Little Paper Planes, and Christiana at Ferm Living.

I’ll also be posting about some DIY home improvements I’ve been doing in our apt (they’re long over-due). And a mini-journal making how-to for you from me!

So tune in for more tomorrow. Thanks for reading Maquette!! Oh and, I would also love to hear what you do and why you are interested in art, design, fashion, or anything else you read about here. So feel free to drop me a line to tell me. I appreciate your readership so much and want to know who you are.

Search

Books